LaserShowGen & LaserCube Guide: Timeline Laser Shows
Learn how to connect LaserShowGen directly to LaserCube for plug-and-play timeline laser shows over Wi-Fi or Ethernet with no external DAC boxes.
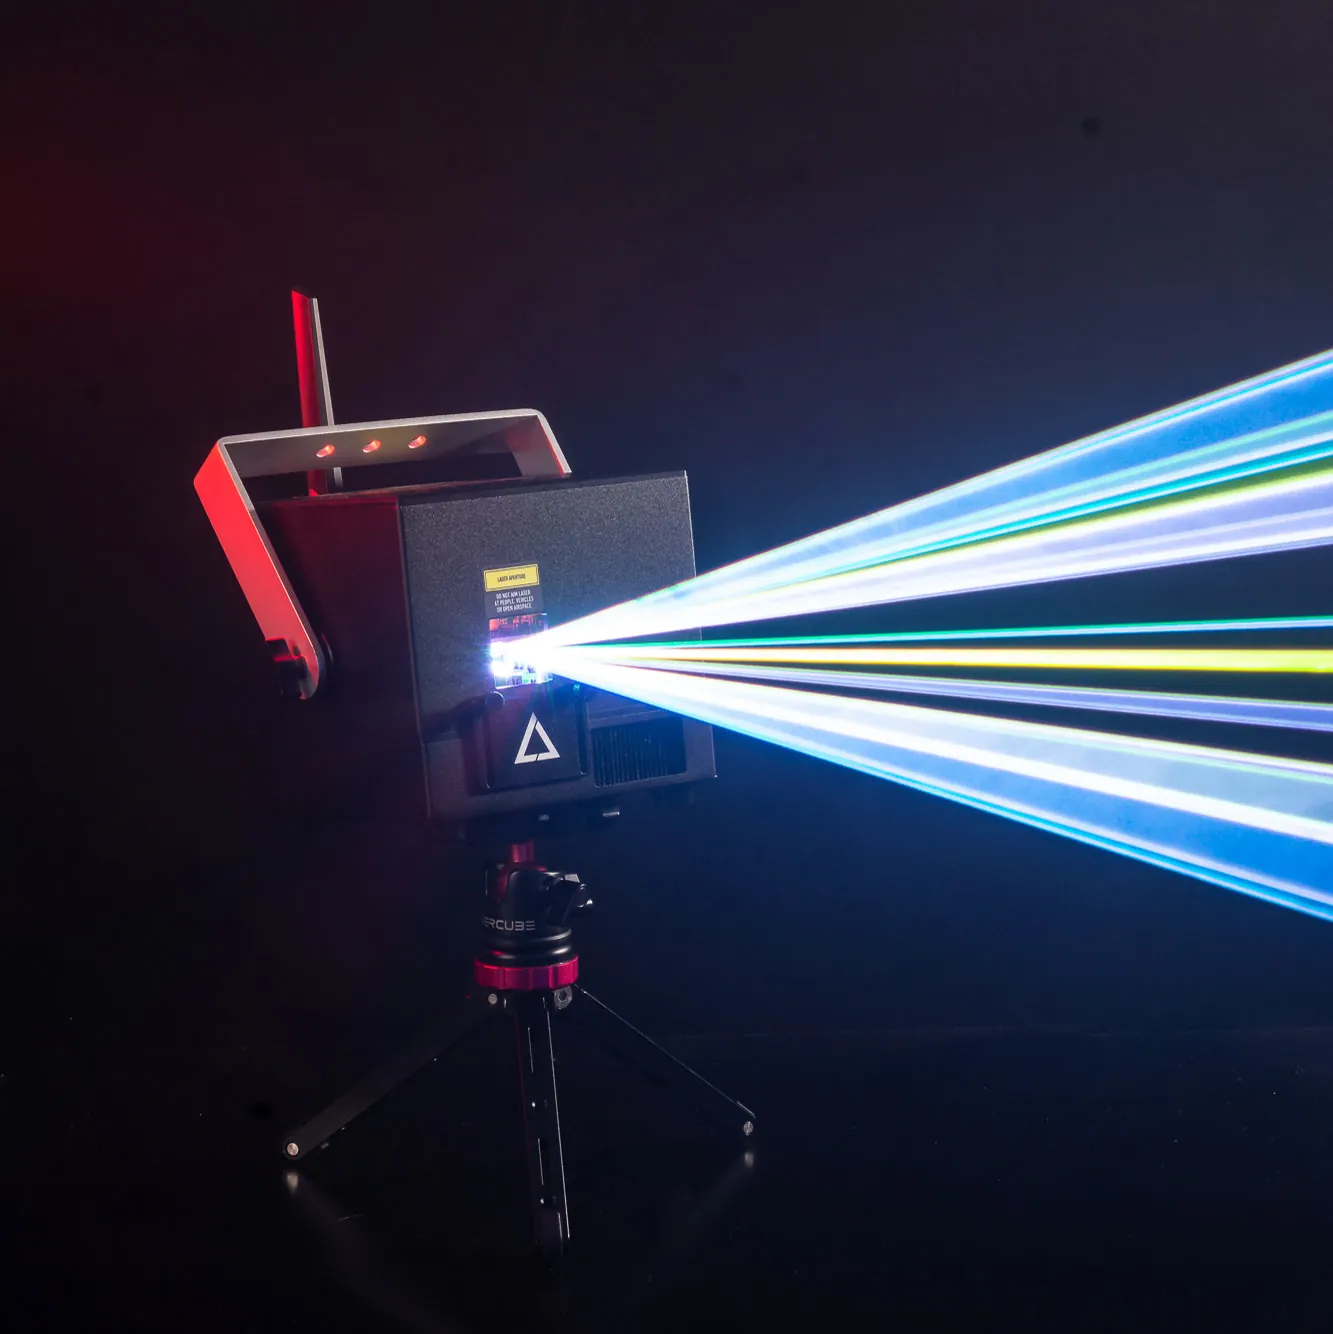
Building custom timeline laser shows often comes with complex hardware setup steps. Creators usually have to buy separate digital-to-analog converter boxes and route heavy analog DB25 cables across a room. This adds extra points of failure and cable clutter before a live event.
LaserCube removes this friction with native driver support inside the LaserShowGen software. This software integration enables direct output over Wi-Fi or Ethernet without extra interfaces.
Stream timeline laser shows without external DAC boxes
LaserShowGen features direct native driver support for LaserCube, streaming raw point data over a simple network connection. Traditional laser setups require an external digital-to-analog converter, like a Helios or FB3 box, to translate software signals.
Native driver integration translates timeline tracks directly into physical light without extra interface hardware. Direct communication sends X, Y, and color coordinates directly to the projector.
Bypassing external converter boxes provides key operational advantages:
- Direct signal routing: Translates software vectors directly into hardware motion without intermediate hardware translation.
- Lower software latency: Eliminates converter processing delays for responsive live timeline performance.
- Cleaner stage footprint: Bypasses heavy analog DB25 snakes and additional power supplies.
Connect LaserShowGen to LaserCube in three simple steps
Connecting LaserCube to LaserShowGen takes a few minutes using standard network settings.
- Establish the connection: Power on the projector (on an Ultra MK2 or Pro, first choose LaserOS under Control Mode on the cube) and connect it to a computer using an Ethernet cable in LAN Client mode, or connect wirelessly in WiFi Server mode. When using a direct network cable without a DHCP router, LaserCube automatically assigns itself an Auto-IP address.
- Select LaserCube in LaserShowGen: Open the device settings inside LaserShowGen, navigate to the hardware driver dropdown menu, and choose LaserCube.
- Check the beam paths: Keep every beam at least 3 meters (10 feet) above the floor wherever people may be, and set the cube’s beam block so nothing scans into audience areas. Keep cameras out of the projection area, and make sure nobody is in front of the laser.
Select the right LaserCube hardware for your venue
Choosing the proper hardware depends on venue size and visual complexity.
- LaserCube WiFi Series (1.2W / 2.5W): Weighing 3.7 lbs with an internal rechargeable battery, these compact units run for 2 to 3 hours. They feature AT-25K galvo scanners running at 25,000 pps @ 6°, which handle smooth beam patterns and clean timeline graphics in mobile setups.
- LaserCube 10W Ultra MK2: Built for large venues and production stages, this model delivers 10,000mW output power. Upgraded AT-40S galvo scanners running at 35,000 pps @ 7° draw detailed timeline animations with less flicker.
Add atmospheric haze to reveal mid-air beam effects
Airborne particles are required to turn 2D timeline shapes into 3D mid-air beam structures. Concentrated laser light remains invisible in clear air until it reflects off physical floating particles.
Pairing a LaserCube with the Nano Fogger creates a light mist that instantly reveals aerial fans and tunnels. Placing a small fan in front of the fogger spreads a thin, even layer of haze across the space.
Wrapping Up
Combining LaserShowGen with LaserCube provides a complete timeline laser setup without extra converter boxes or cable mess.
Ready to build your visual rig? Visit the LaserCube product page on laseros.com to compare models, accessories, and find the right setup for your next show.
Frequently Asked Questions (FAQs)
Q01Do I need an external DAC box to use LaserCube with LaserShowGen?
No, an external digital-to-analog converter box or DB25 analog cable is not needed. LaserShowGen includes native driver support for LaserCube, allowing a direct connection over Ethernet or Wi-Fi.
Q02How do I prevent complex timeline graphics from flickering?
Flickering happens when an animation has more vector points than the scanner can draw in a single cycle. Choosing a projector with faster scanners like the LaserCube 10W Ultra MK2 (35,000 pps) or lowering the point count in LaserShowGen keeps graphics smooth.
Q03Is Wi-Fi or Ethernet better for live timeline shows?
While Wi-Fi Server mode works well for simple single-device setups, a wired Ethernet connection using LAN Client mode is recommended for live shows to avoid wireless interference and packet loss.
See it for yourself
LaserCube is a portable, battery-powered RGB laser projector, and its show software, LaserOS, is free.
Explore the LaserCube lineup