Modulaser Setup: Plug & Play LaserCube Guide
Stream Modulaser visuals directly to LaserCube without external DAC boxes or bulky cables. Learn how to set up your vector show in 3 simple steps.
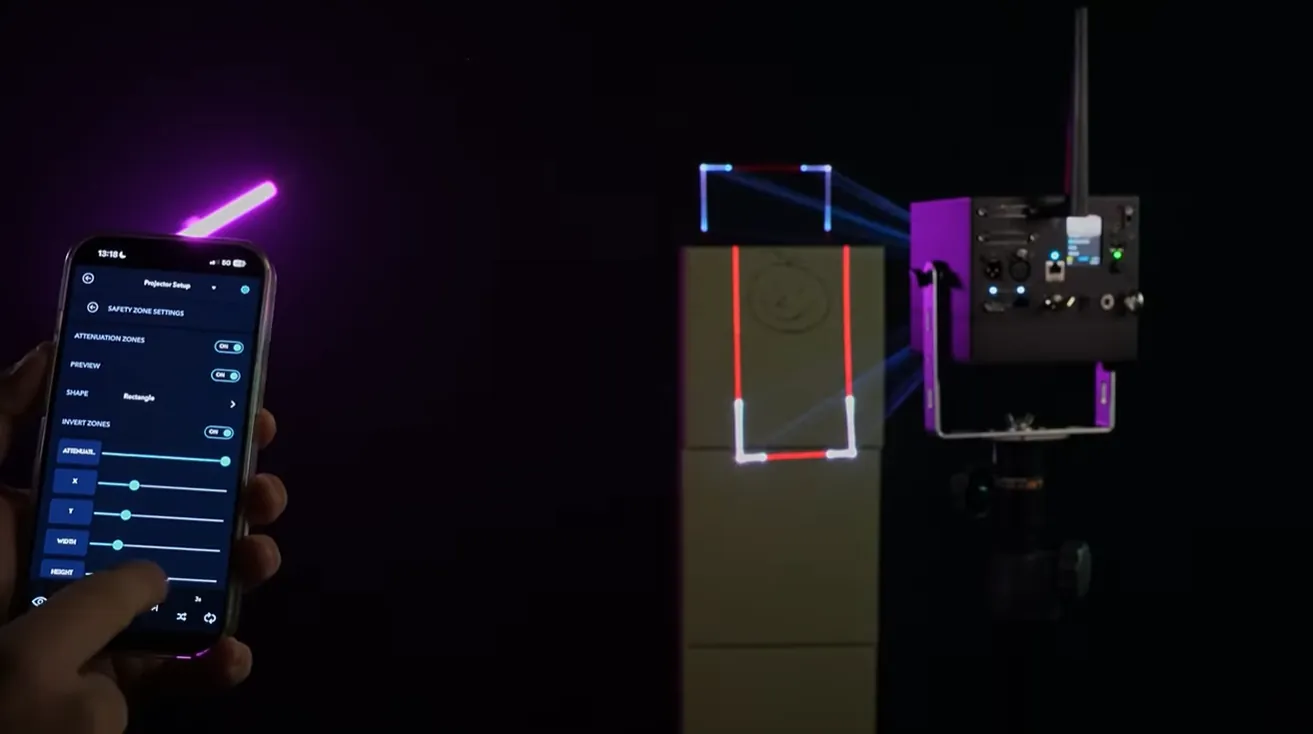
Modulaser and LaserCube: How to Run Plug-and-Play Vector Laser Shows
Visual artists who build real-time vector patches in Modulaser often encounter hardware friction with legacy systems. Traditional setups require buying external Digital-to-Analog Converters (DACs) and routing heavy analog DB25 cables across a venue. LaserCube features native driver support inside Modulaser, giving you direct, plug-and-play laser control over Ethernet or Wi-Fi.
Stream Real-Time Modulaser Visuals Without External DACs
Modulaser gives visual creators complete freedom to synthesize dynamic geometric shapes, LFO wave patterns, and audio-reactive visuals live. LaserCube includes a native DAC driver built directly into Modulaser, allowing your computer to stream raw point data over a simple network connection.
By skipping external converter boxes, you remove unnecessary failure points during a live VJ set. Modulaser’s signal controls translate directly into physical light while maintaining full analog color modulation for smooth gradients and subtle hue shifts.
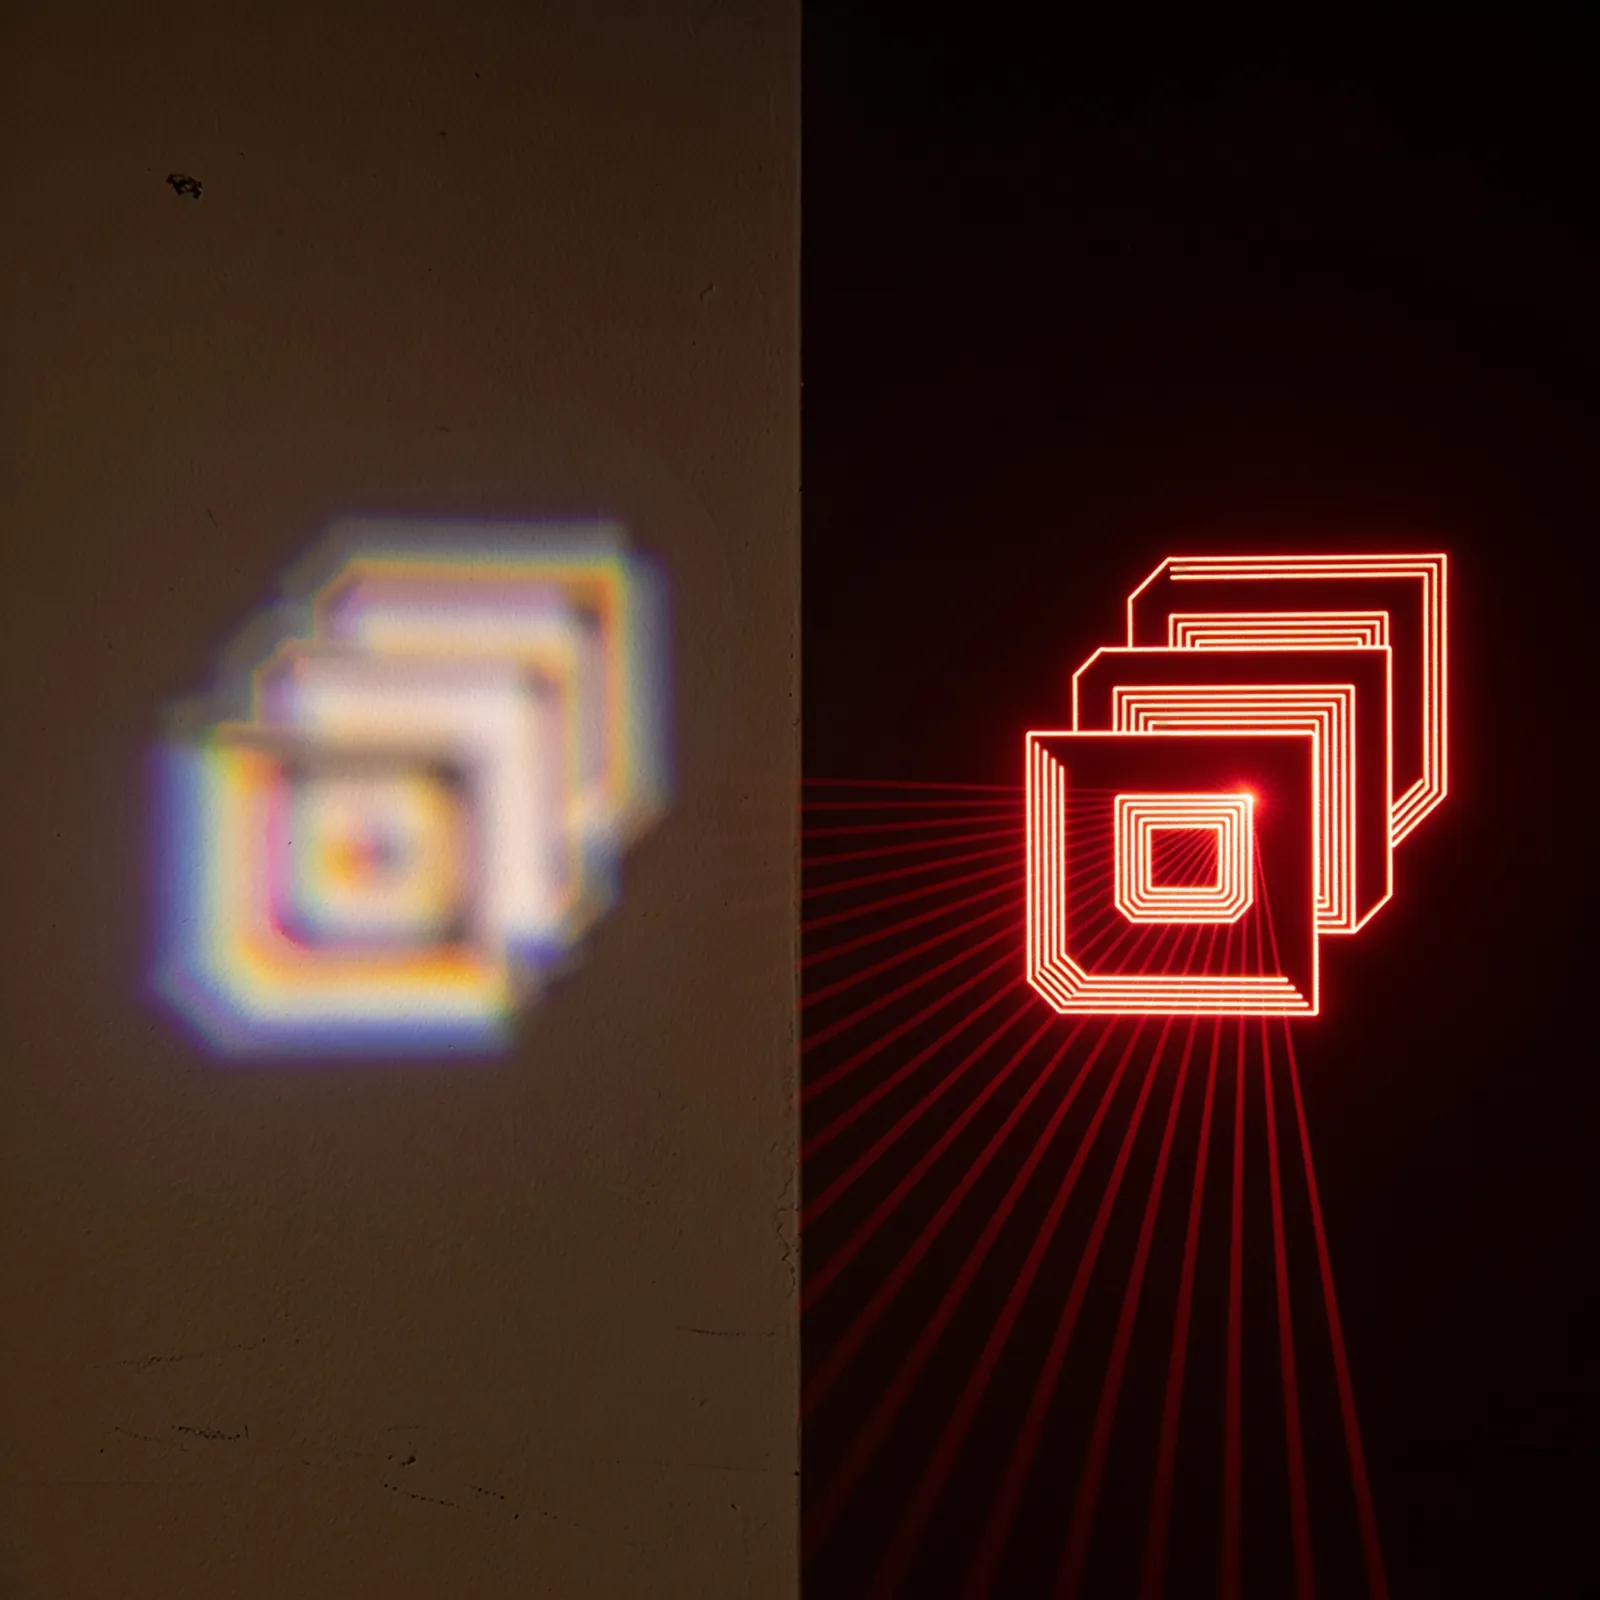
Set Up Modulaser and LaserCube in Three Simple Steps
Connecting your LaserCube to Modulaser takes a few minutes using standard network settings. Here is how to complete the setup:
- Connect your network: Power on the projector and connect it to your computer using an Ethernet cable (LAN Server mode straight to the computer, LAN Client through a router or switch), or connect wirelessly using Wi-Fi Server mode.
- Select LaserCube in Modulaser: Open the Modulaser settings window, navigate to the DAC routing menu, and select LaserCube from the native hardware dropdown list.
- Check the beam paths: Keep every beam at least 3 meters (10 feet) above the floor wherever people may be, and set the beam block so nothing scans into audience areas. Keep cameras out of the projection area, and make sure nobody is in front of the laser.
Choose the Right LaserCube Model for Your Setup
Selecting the right hardware depends on your venue size and visual complexity.
- LaserCube WiFi Series (1.2W / 2.5W): Built for portable setups, home studios, and small venues. Weighing 3.7 lbs with an internal rechargeable battery, these models use AT-25K galvo scanners (25,000 pps @ 6°) for clean geometric rendering.
- LaserCube 10W Ultra MK2: Built for large venues and touring productions. Features 10,000mW output and upgraded AT-40S galvo scanners (35,000 pps @ 7°) that render detailed Modulaser patches with less flicker.
To turn 2D vector shapes into 3D mid-air beam structures, pair your hardware with the compact Nano Fogger.
Wrapping Up
Combining Modulaser with LaserCube offers visual artists a clean, direct vector setup with zero hardware friction. You can explore more options on our list of compatible apps.
Ready to build your visual rig? Visit the LaserCube product page to compare models, accessories, and find the right setup for your next performance.
Frequently Asked Questions (FAQs)
Q01Do I need an external DAC box to use LaserCube with Modulaser?
No, you do not need an external Digital-to-Analog Converter (DAC) box or DB25 analog cables. Modulaser features built-in native driver support for LaserCube, allowing you to connect directly using a standard Ethernet cable or Wi-Fi connection.
Q02How do I prevent complex Modulaser patches from flickering?
Flickering happens when a vector patch contains more node points than the internal scanner can draw in a single cycle. To maintain smooth, flicker-free graphics, use a projector with high-speed galvo scanners like the LaserCube Ultra MK2 (35,000 pps) or simplify the node count inside Modulaser.
Q03Is Wi-Fi or Ethernet better for live Modulaser shows?
While Wi-Fi Server mode works well for short-distance outdoor testing, a wired Ethernet connection using LAN Client mode is highly recommended for live indoor shows to prevent network interference and frame dropouts.
See it for yourself
LaserCube is a portable, battery-powered RGB laser projector, and its show software, LaserOS, is free.
Explore the LaserCube lineup