8 Common LaserCube Mistakes (and How to Fix Them)
Fix the 8 most common LaserCube and LaserOS setup mistakes. From arming order to Wi-Fi stutter, get instant troubleshooting steps for your live shows.
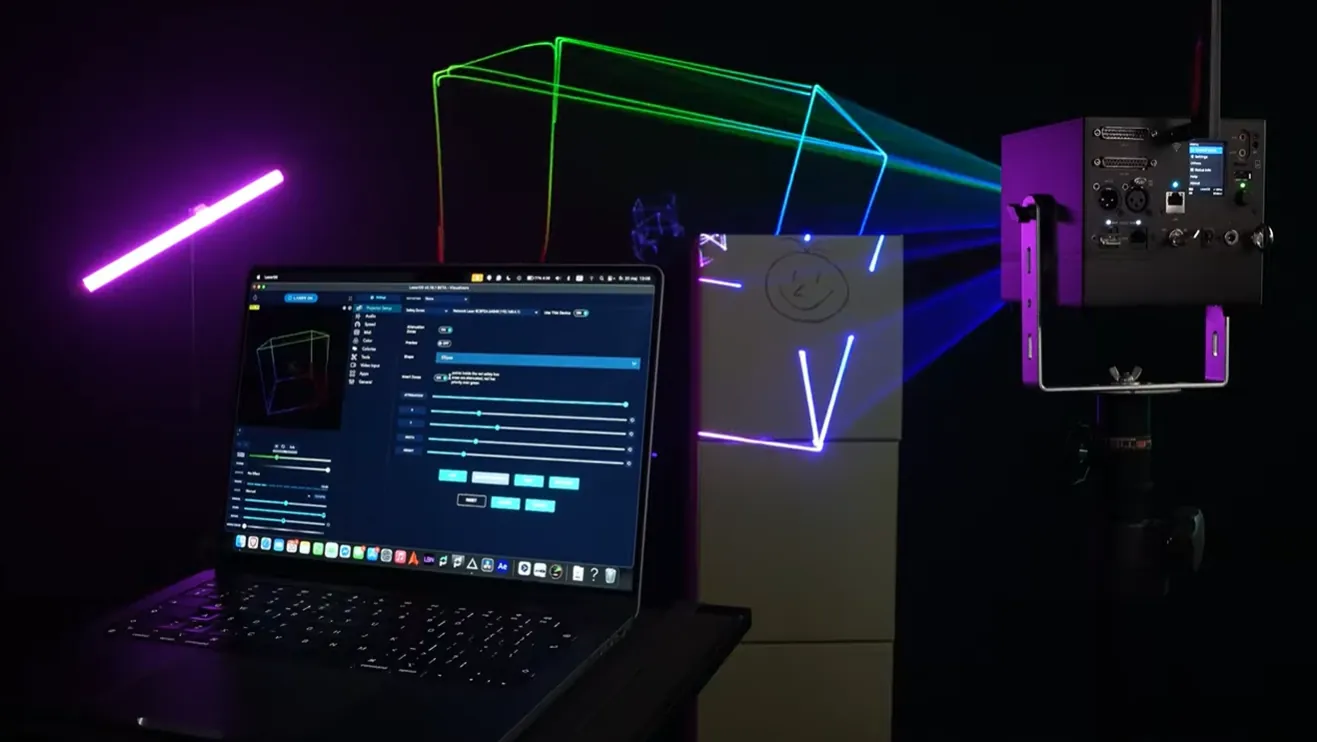
Setting up a laser show under pressure can test any performer’s patience. You arrive at a venue, power on your projector, and run into unexpected snags: distorted logos, network lag, or a device that refuses to emit light.
Troubleshooting hardware issues mid-event causes unnecessary stress and distracts from your performance. Fortunately, most setup problems stem from a few easily correctable operational habits.
Here is our direct troubleshooting guide covering the eight most common LaserCube and LaserOS setup mistakes – and the exact steps to fix them instantly.
Mistake 1: Wrong startup order
Always insert the interlock plug and physical safety key before powering on the unit, then turn the key to ON to arm the laser.
A common support question we receive is why a LaserCube turns on but will not output any light. LaserCube projectors include physical safety interlocks designed to prevent accidental emission. If you switch main power on before inserting the keys or jumpers, the internal safety circuitry keeps the diodes disarmed.
Follow this exact hardware arming sequence:
- Insert the interlock jumper: Plug in the interlock jumper on WiFi models, or into one of the E-Stop RJ45 ports on the Ultra MK2 and Pro.
- Insert the physical safety key: Place the key into the chassis lock.
- Toggle the main power switch: Switch the main power toggle to ON.
- Turn the safety key: Turn the key clockwise to the ON position.
Once properly armed, the emission warning LEDs will illuminate steadily, confirming the laser is ready to project.
- Power cycle reset: If you ever cycle main power off and on again, you must reset the safety key by turning it back to the left and then to the right again.
- E-Stop setup sequence: Every US unit needs its E-Stop connected (outside the US it is optional and replaces the jumper). Turn the cube’s key on (and the E-Stop’s own key, if it has one) and make sure the red STOP button is up. When the indicator LEDs flash slowly, briefly press the green START button; after about 10 seconds the LEDs stay solidly on. Full steps: the manual’s E-Stop Setup Guide.
Mistake 2: Using Wi-Fi in unsuitable environments
Switch from Wi-Fi to a wired LAN Client connection or native DMX/ArtNet for live public shows to eliminate wireless network interference and frame drops.
Wi-Fi Server mode provides convenient, cable-free operation for outdoor testing and small studio demos. However, crowded commercial venues create harsh radio frequency environments. Hundreds of attendee smartphones, local venue routers, and production radios compete on the 2.4GHz spectrum, causing heavy UDP packet loss.
When streaming live laser cues over a congested wireless network, packet loss causes visible stuttering, image lag, and broken animations.
Key connection practices for live gigs:
- Hardwired LAN connection: Run a physical Ethernet cable using the included RJ45-to-USB-C adapter. A physical cable isolates your visual data from local airwave congestion, guaranteeing responsive playback.
- Master console integration: For large concert stages using the LaserCube 10W Ultra MK2, you can also run hardwired control lines directly via native DMX protocol, ArtNet, or ILDA protocol inputs (DMX and ArtNet from a lighting desk, ILDA from a laser controller).
Mistake 3: Launching software too early
Always establish your physical or wireless connection between your computer and the LaserCube before opening LaserOS so the application can authorize the hardware.
Whenever you launch the LaserOS application, it executes an automatic hardware authorization check to detect connected LaserCube devices. If you open LaserOS on your Mac or PC first and plug in your laser second, the software bypasses this check.
When this happens, the application fails to detect the projector, and the output toggle remains disabled.
The recovery process takes only a few seconds:
- Terminate the app: Completely close and exit LaserOS.
- Verify connection: Ensure your LaserCube is powered on, armed, and connected via Wi-Fi or Ethernet cable.
- Relaunch LaserOS: Reopen the software (available on our tutorials and downloads page).
Upon startup, the top status banner will display your connected LaserCube model in red text, indicating that the device has authorized properly and is ready to project.
Mistake 4: Using incorrect LAN mode
Pick the LAN mode that fits the cable: LAN Server for a cable straight to one computer or phone, LAN Client through a router or switch or with several cubes (LAN Client also works on a direct cable, using APIPA).
LaserCube hardware offers two wired Ethernet modes: LAN Server and LAN Client. In LAN Server mode the LaserCube acts as a DHCP server and gives your computer or phone an address automatically, which suits a direct cable to one device. Through a router or switch, or with several cubes, use LAN Client.
LAN Client mode simplifies networking by leveraging APIPA (Automatic Private IP Addressing).
Key networking details for LAN setups:
- Automatic IP Assignment: In LAN Client mode, the LaserCube automatically assigns itself an Auto-IP address in the
169.254.x.xrange when connected directly to a computer or unmanaged switch. - Quick Configuration: Navigate to Connection Settings, select LAN Client, and confirm that IP Mode is set to Auto-IP.
- Adapter Isolation: Temporarily disable your computer’s Wi-Fi card to avoid conflicting network adapters, and LaserOS will locate the projector instantly.
Mistake 5: Uploading overly complex graphics
Reduce vector node counts in graphic design software or adjust the Render Quality slider in LaserOS to eliminate image distortion and scanner flicker.
Laser projectors do not operate like video monitors. Instead of lighting up a grid of pixels simultaneously, a laser uses galvanometer (galvo) scanners—two tiny, motorized mirrors tilting on the X and Y axes to steer a single concentrated beam of light.
These mirrors have physical mechanical limits:
- LaserCube WiFi Series: Its scanners scan at 25,000 points per second (pps).
- LaserCube Ultra MK2: Faster galvos reach 35,000 pps.
Reviewing galvo scanner specs and scanning speed limits helps prevent hardware strain. When you import an illustration containing thousands of anchor points, the mirrors cannot travel between every coordinate fast enough within a single refresh cycle, causing warping and flicker.
How to stabilize your graphics:
- Adjust the Render Quality slider: In LaserOS, right-click the item, turn on Assign Render Quality and move the slider to balance point spacing and framerate (phone app: the gear in the player bar, then Assign Quality).
- Reduce projection size: Decreasing overall zoom shortens the physical distance the mirrors must travel, stabilizing the frame.
- Simplify vector artwork: In design software like Illustrator or Affinity, use path-simplification tools to keep designs under 500 total anchor points.
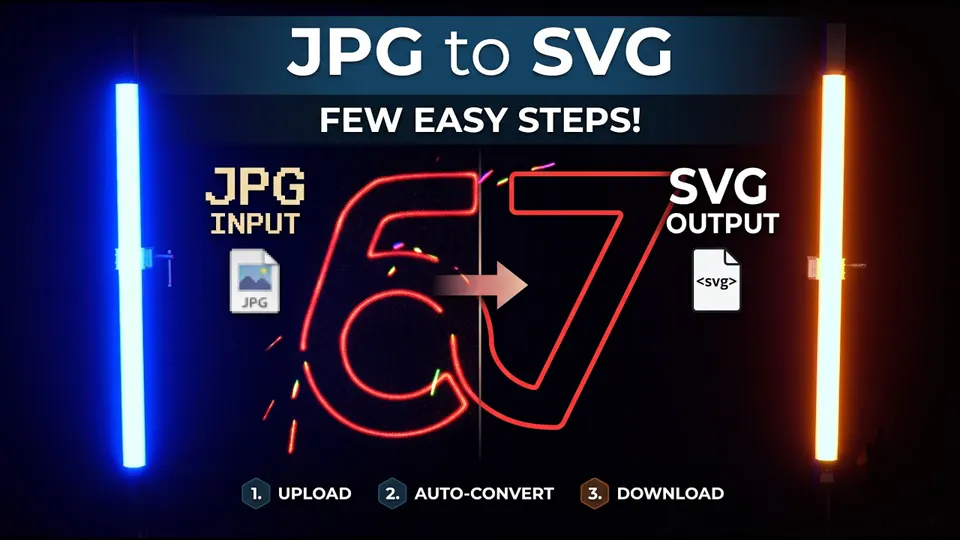
Mistake 6: You fed it a JPG
Follow this vector preparation sequence:
- Import artwork: Open your raster file in vector software (such as Affinity or Illustrator).
- Trace outlines: Run an image trace using the curve fitting tolerance slider to generate clean paths.
- Remove background: Delete the solid rectangular background layer.
- Set stroke only: Set fill opacity to 0% and assign an outline stroke color.
- Export to SVG: Export the artwork as an SVG vector file.
Once imported into LaserOS, navigate to Settings > General and enable “Show FPS in Simulator Window.” If the framerate stays at 45 FPS or more, your vector graphic is clean, optimized, and ready for live playback. For a complete file prep walkthrough, check our guide on custom laser graphics shows.
Mistake 7: Only using the default
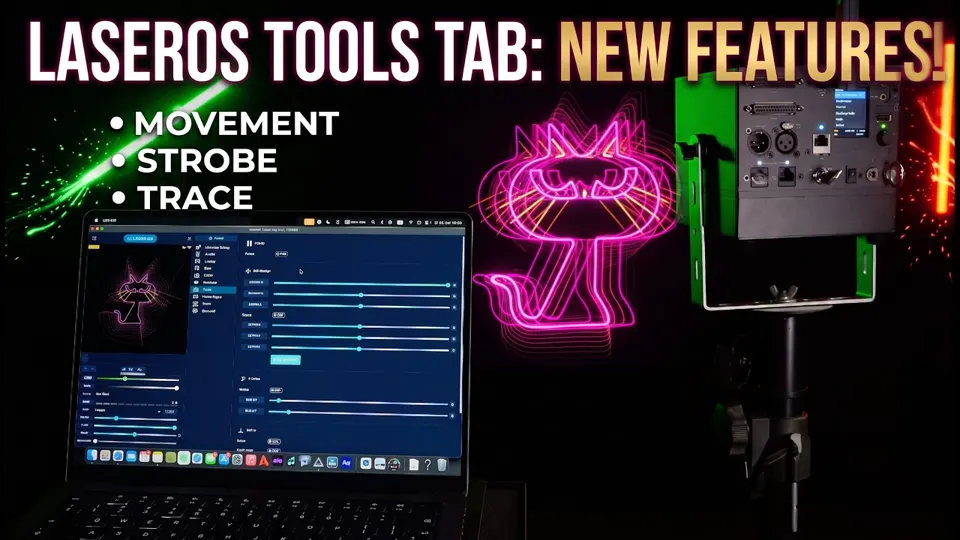
Three core tools in the LaserOS features menu provide instant visual variation:
- Movement: Adds continuous linear motion across horizontal and vertical axes, as well as rotational looping along the X, Y, and Z planes.
- Strobe: Toggles dynamic flickering rates with adjustable speed and duration sliders, perfect for high-energy music buildups and drops.
- Trace: Applies the Trace effect, which draws vector outlines progressively, like a drawing that draws itself, with customizable flying spark particles.
Pro Tip: Hold Left Shift and drag any of these tool toggles directly onto the quick-access sidebar for immediate control during live sets.
Mistake 8: Judging it only on watts
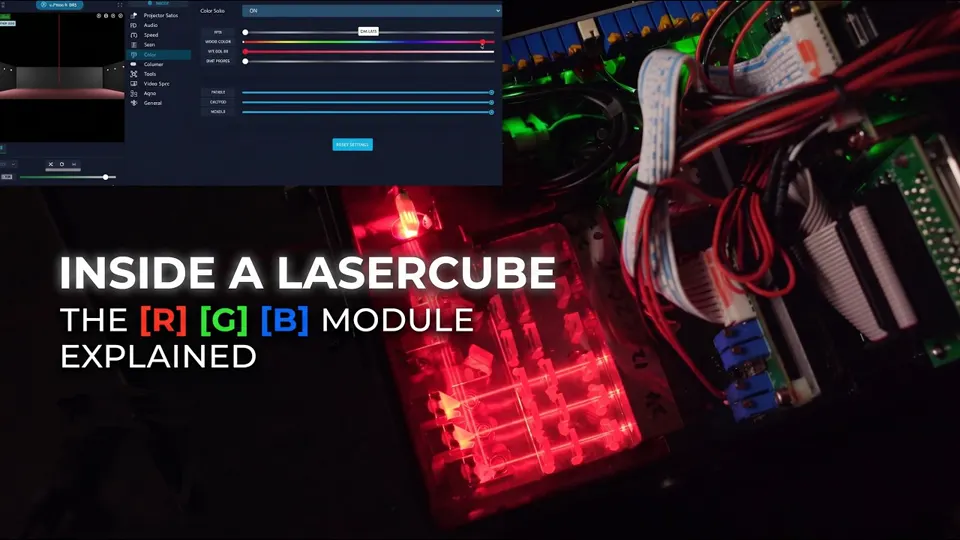
While wattage determines raw beam brightness, analog diode modulation dictates whether a projector produces millions of smooth colors or only eight hard steps.
The previous seven mistakes occur during hardware setup and show execution. This final mistake happens before you even purchase a projector.
Many first-time buyers evaluate laser projectors solely on raw wattage, assuming higher wattage always equates to a better show. However, laser color control is governed by diode modulation. Budget show lasers often use binary TTL (Transistor-Transistor Logic) modulation. In TTL mode, each red, green, and blue laser diode has only two states: fully on or fully off.
Without variable intensity control, TTL projectors can only display eight basic colors: black, red, green, blue, yellow, magenta, cyan, and white.
Why Analog Modulation and Wavelength balance matter:
- Full Color Depth: Every LaserCube model uses Analog Modulation (0–5V diode current control). By varying voltage continuously across all three diodes, LaserCube projectors produce subtle gradients, smooth color fades, and over 16.7 million distinct hues. Learning the core differences between pro laser systems vs consumer models prevents costly buyer’s remorse.
- Perceived Biological Brightness: Human eye sensitivity peaks near 555 nanometers (green light) according to ILDA display standards. A 300mW green diode appears subjectively as bright as a 1,500mW red diode. High-grade analog diodes balance these wavelengths internally to deliver crisp white balance and vivid color mixing.
Wrapping up
Eliminating setup friction comes down to mastering equipment basics: follow the physical arming sequence, deploy wired LAN connections for public events, import stroke-only SVG vectors, and make full use of LaserOS creative tools.
Whether you perform with the ultra-portable LaserCube WiFi series or deploy the touring-grade LaserCube 10W Ultra MK2, these practices ensure your visuals remain sharp, responsive, and completely stable throughout every show.
Ready to explore complete laser systems and live event accessories? Visit the LaserCube product page or browse our accessories and gear catalog to compare models and build the ideal setup for your next performance.
See it for yourself
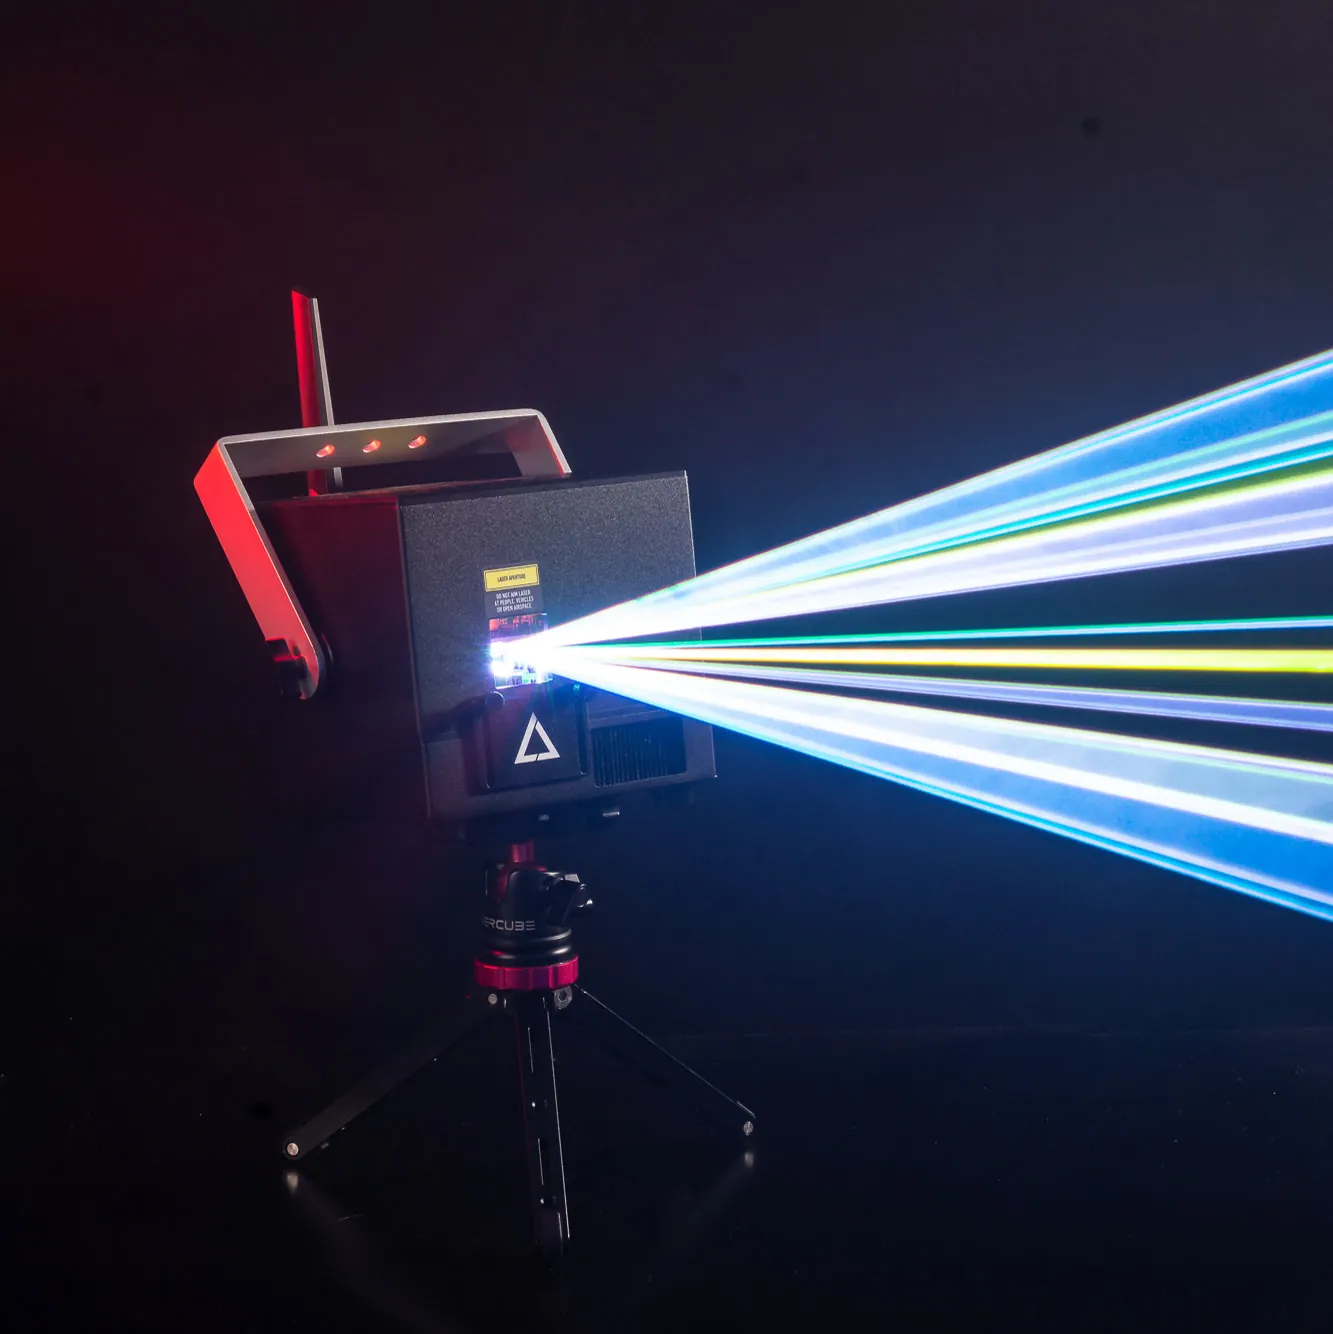
LaserCube is a portable, battery-powered RGB laser projector, and its show software, LaserOS, is free.
Explore the LaserCube lineup